Aeon Labs
Aeotec Panic Button
SKU: AEO_PANIC
Quickstart
This is a
Remove the back cover of the device and fit in the battery. Make sure to check for the correct polarisation. Set the back cover back in place and start the inclusion. There are two possibilities for the inclusion.1. Inclusion into an existing network: In this case the Panic Button will act as a secondary controller in the network. Set the primary controller of your network into inclusion mode. If you are unsure how to do that please refer to it"s user manual. Press the "Learn" button on the back of the Panic Button once with the enclosed Pin. The LED on the front will start flashing. Once the inclusion is finished the LED will stay solid for two seconds.
2. Creating a new network: The Panic Button can act as primary controller of it"s own network. To add devices to it"s network press the "Include/Exclude" button on the back of the Panic Button with the enclosed Pin. The LED on the front will start flashing slowly. Now press the Z-Wave button of the device you want to add. Once the device was added to the Panic Button"s network the LED will stay solid green for two seconds. Repeat this process for every device you want to add. Once you have included all devices press any button on the Panic Button to exit the inclusion.
Important safety information
Please read this manual carefully. Failure to follow the recommendations in this manual may be dangerous or may violate the law. The manufacturer, importer, distributor and seller shall not be liable for any loss or damage resulting from failure to comply with the instructions in this manual or any other material. Use this equipment only for its intended purpose. Follow the disposal instructions. Do not dispose of electronic equipment or batteries in a fire or near open heat sources.Product Description
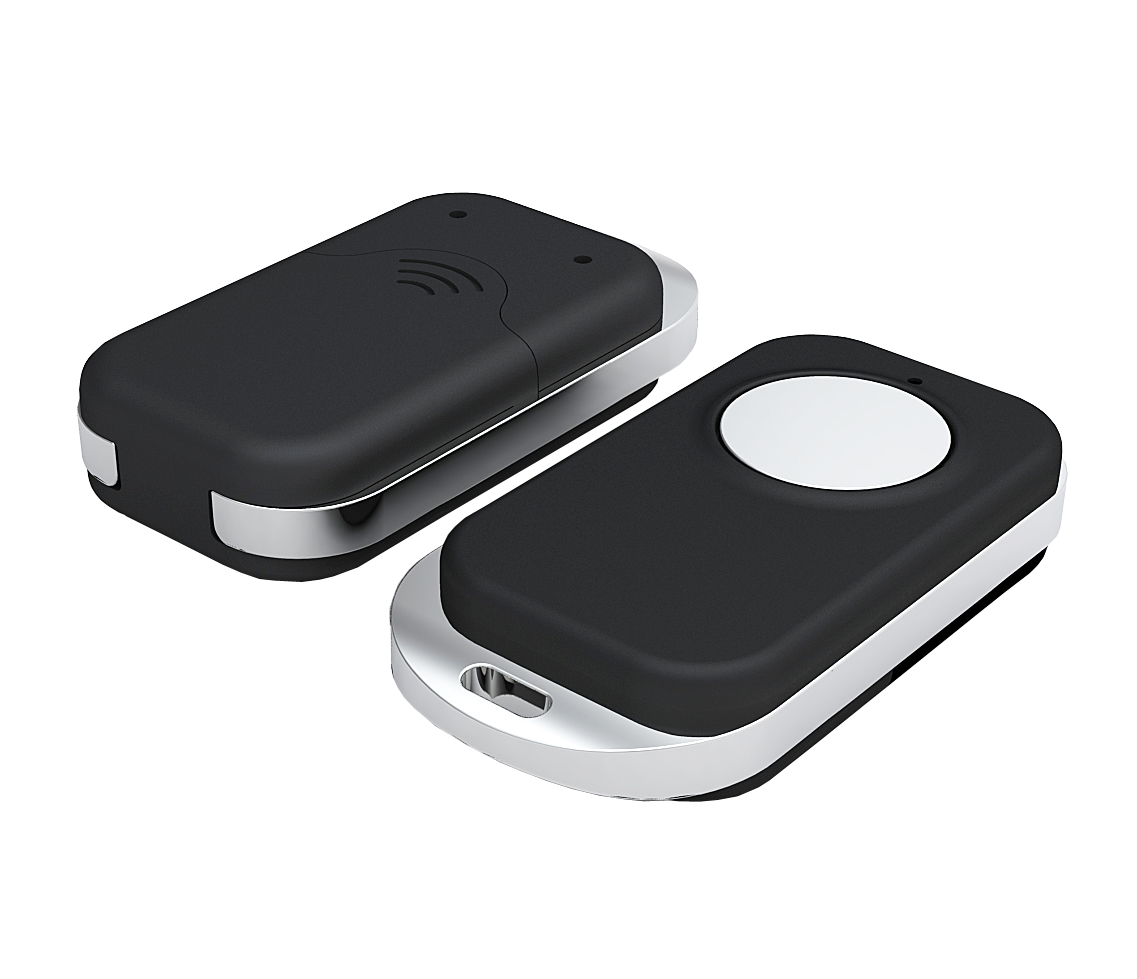
The Aeon Labs Panic Button is a one button remote control, which is specifically designed for emergency situations. This Panic Button will work as a remote control within your Z-Wave network, allowing it to both control associated devices and act as a tool for adding/ removing devices to/ from your Z-Wave network. You can also use this onebutton remote control for non-emergency situations, e.g. to communicate with a Z-Wave device for turning on/ off or dimming the lighting or switching a device (garage doors).
Installation
Remove the back cover of the Panic Button and set in the battery. Please check for the correct polarisation. Set the back cover back in.
Product Usage
The Panic Button can act either as primary controller of it"s own network or as secondary controller of an existing network.
Usage in an existing network:- The Panic Button can include device into the existing network. In this case it will hand all the received data to the primary controller. Please refer to the inclusion section of this manual for information regarding the inclusion. In addition the primary controller can define scenes. Scenes can define a trigger and actions that should be performed once the trigger is activated. You can set up an emergency scene that has the Panic Button as trigger and performs the wished changes once the Panic Button is pressed. Please refer to the controller"s manual for information about how to define scenes.
- Please read in the inclusion section how to include devices into the Panic Button"s network. Press and hold the action button of the Panic Button. The LED will start to flash. Now press the Z-Wave button on the device you want to associate. The LED on the Panic Button will stay solid for 2 seconds to indicate a successful communication. Now change the device to the status it should change to when the Panic Button is activated. For example turn a button on if it should be turned on when the Panic Button is activated. Release the action button of the Panic Button. In case the LED does not show the described behaviour please repeat the process and make sure the devices are within 3 meters of one another. Repeat this for every device you want to associate.
| Reset to factory default | XXXResetDescription |
| Inclusion | There are two possibilities to use the Panic Button. As secondary controller in an existing network
As primary controller of a new network
To reset the Panic Button into the factory default state press and hold both the "Include/Exclude" and "Learn" button with the enclosed Pin for at least 10 seconds. The LED will start flashing green and then stay solid green for two seconds. If the reset failed the LED will stay solid red for two seconds. In this case please repeat the process. |
| Exclusion | There are two possibilities to use the Panic Button. As secondary controller in an existing network
As primary controller of a new network
To reset the Panic Button into the factory default state press and hold both the "Include/Exclude" and "Learn" button with the enclosed Pin for at least 10 seconds. The LED will start flashing green and then stay solid green for two seconds. If the reset failed the LED will stay solid red for two seconds. In this case please repeat the process. |
| NIF | XXXNIF |
| Wakeup | XXXWakeupDescription |
| Protection | XXXProtection |
| FirmwareUpdate | XXXFirmwareUpdate |
| SetAssociation | XXXSetAssociation |
Association Groups:
| Group Number | Maximum Nodes | Description |
|---|---|---|
| 1 | 5 |
Technical Data
| Dimensions | 0.0300000x0.0550000x0.0100000 mm |
| Weight | 30 gr |
| EAN | 1220000012042 |
| Battery Type | 1 * CR2450 |
| Device Type | Remote Control - Simple |
| Generic Device Class | Portable Controller |
| Specific Device Class | Portable Remote Controller |
| Firmware Version | 01.0d |
| Z-Wave Version | 02.4e |
| Z-Wave Product Id | 0086.0001.0026 |
| Frequency | Europe - 868,4 Mhz |
| Maximum transmission power | 5 mW |