Sensative
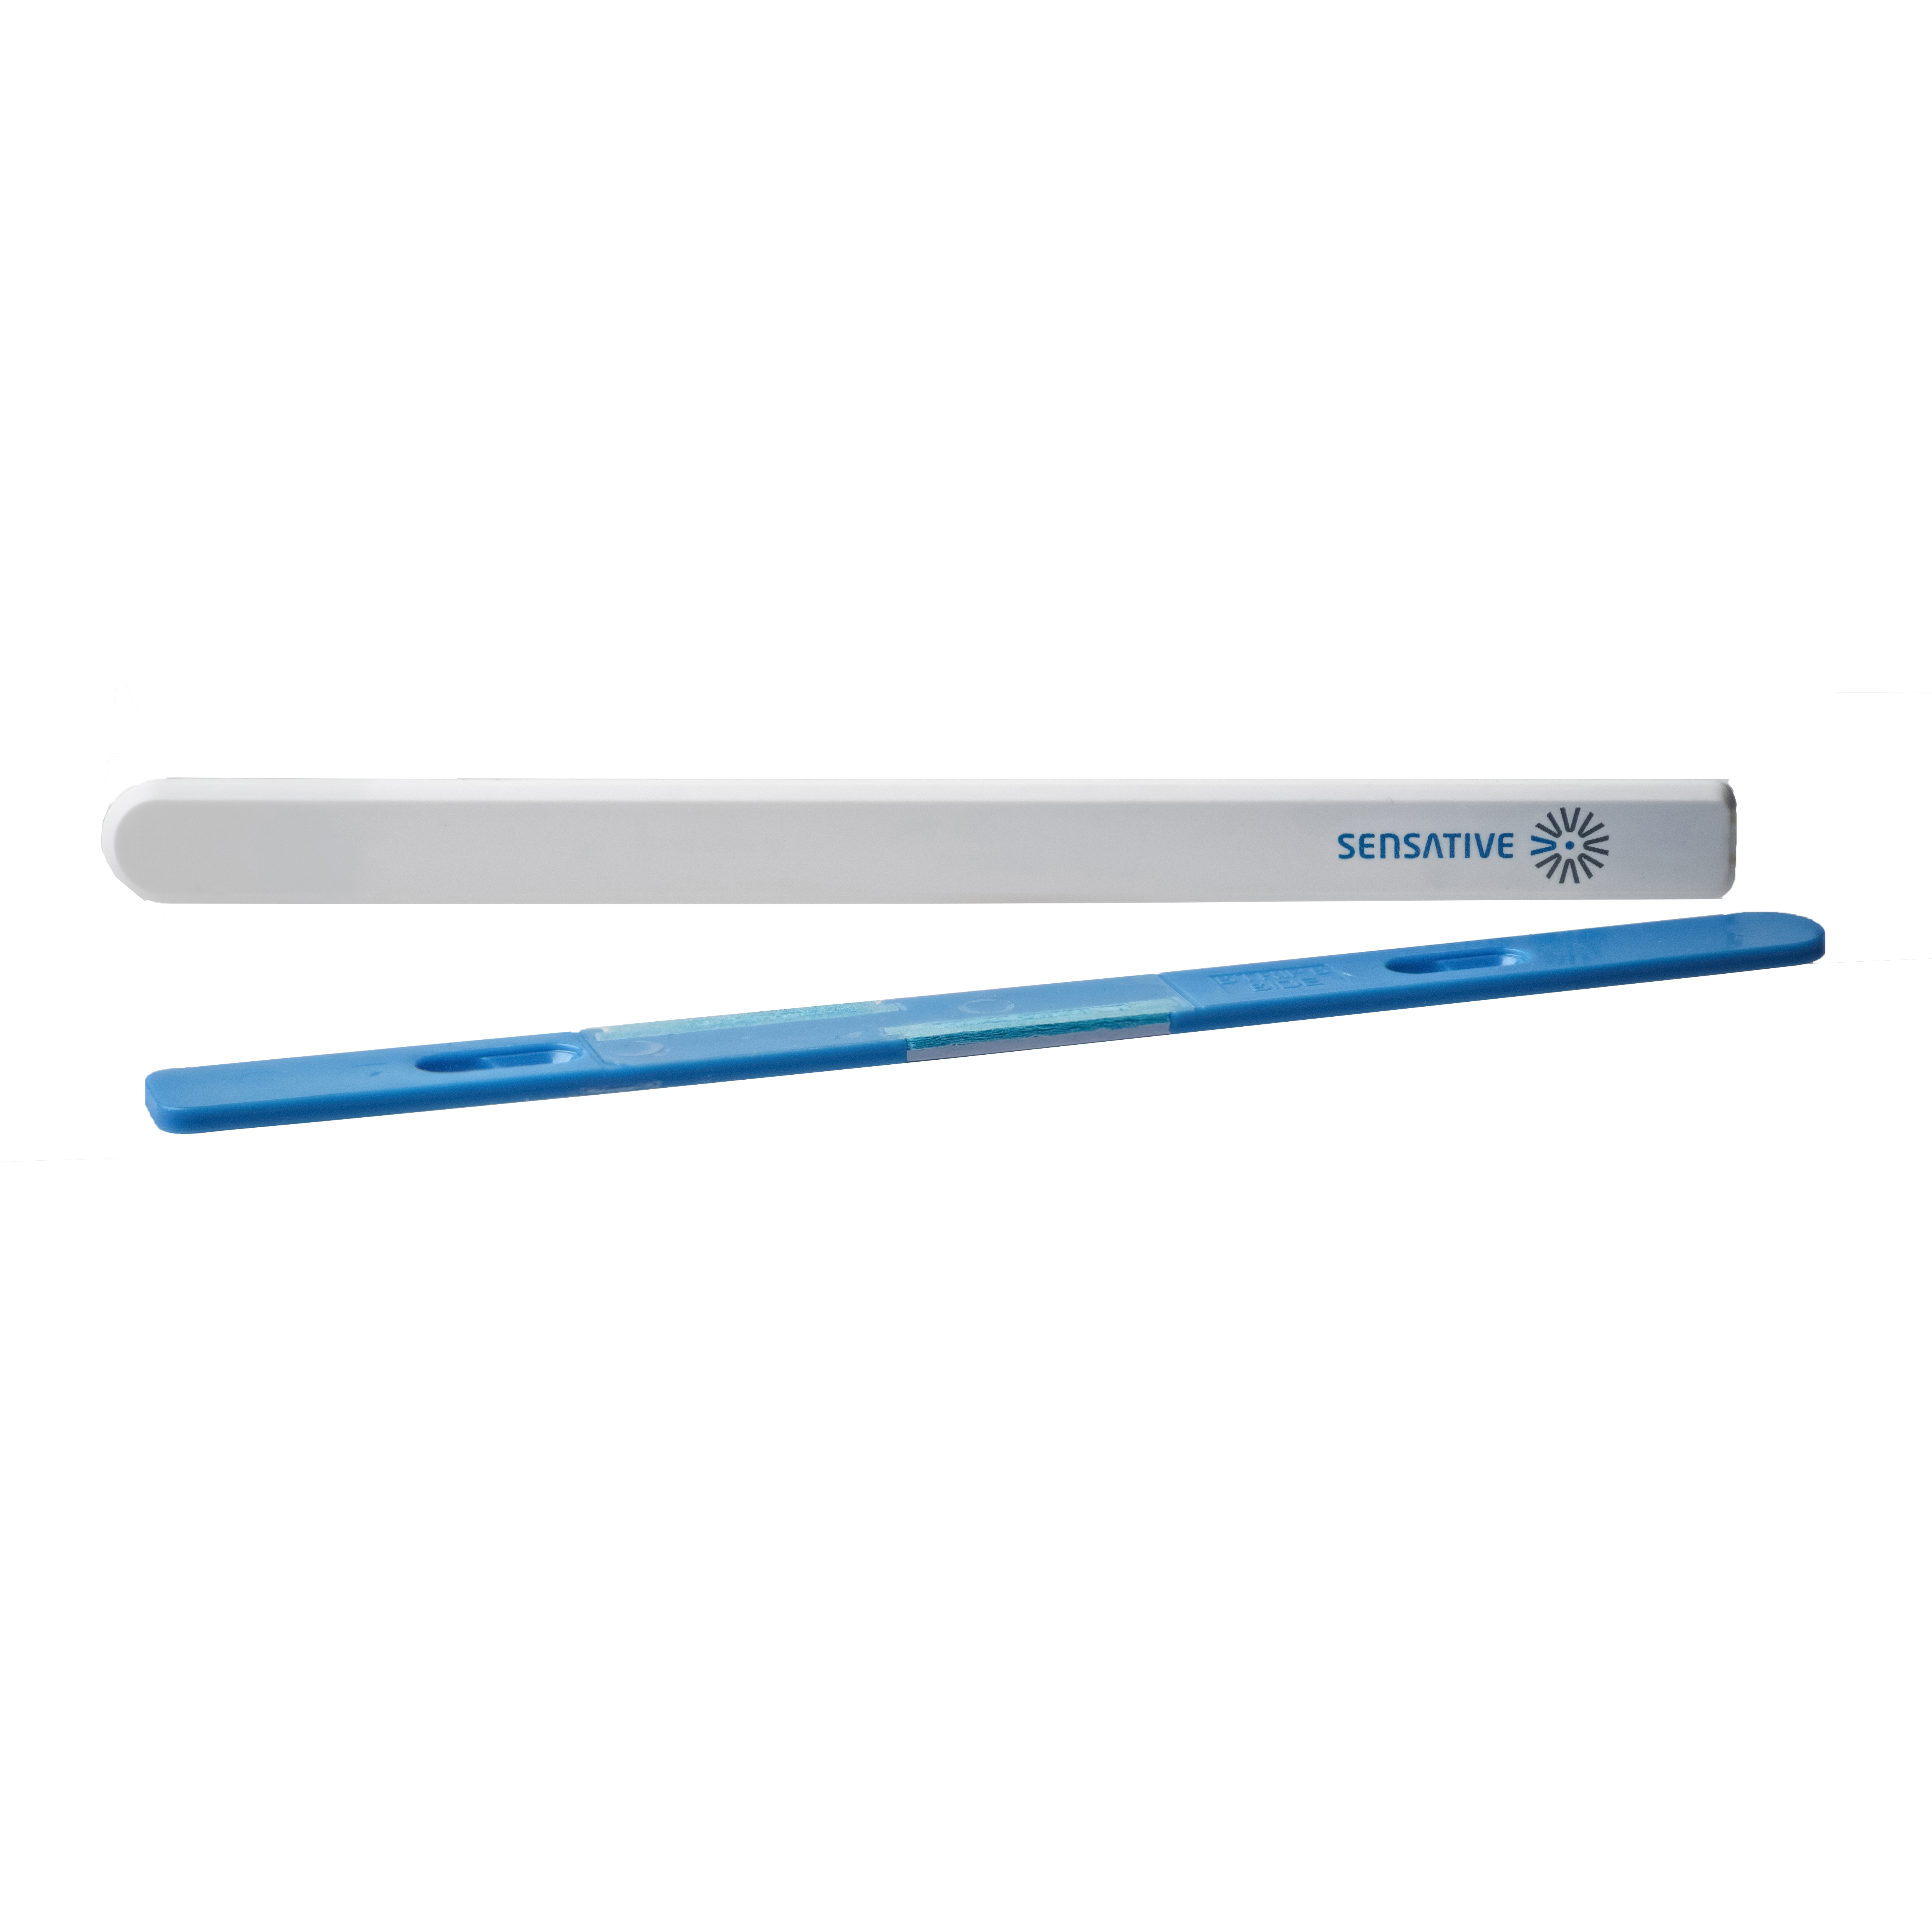
Water Leak Sensor
SKU: SENEDRIP

Quickstart
This is a
1. Start the add mode on the Z-Wave controller. See the controllers manual.
2. Remove both magnets from Strips. Strips blinks twice to confirm the command and successful addition.
3. A long LED blink indicates that the add process was successful
4. The Z-Wave controller application should now allow you to monitor your Strips sensor status.
5. Move the squared magnet as shown in the picture . Check that the Z-Wave system indicates the status correctly
Important safety information
Please read this manual carefully. Failure to follow the recommendations in this manual may be dangerous or may violate the law. The manufacturer, importer, distributor and seller shall not be liable for any loss or damage resulting from failure to comply with the instructions in this manual or any other material. Use this equipment only for its intended purpose. Follow the disposal instructions. Do not dispose of electronic equipment or batteries in a fire or near open heat sources.Product Description
Strip Drip sends an alarm signal if it detects a water leak. Its unique design allows it to be easily placed almost everywhere, including most places other sensors simply can?t fit. With soaking pads integrated in the mounting plate even small amounts of water will be detected. The built-in temperature sensor gives the possibility to combine the leakage alarm with a freeze alarm. There is also a built-in ambient light sensor that may be useful in special applications.
Product Usage
Please note that poor network reliability will affect Strips Drip battery life. When Strips Drip blinks 5 times, this indicates that Strips Drip failed to communicate with the controller. If it happens frequently you may move the controller closer or add an extender between the controller and Strips Drip.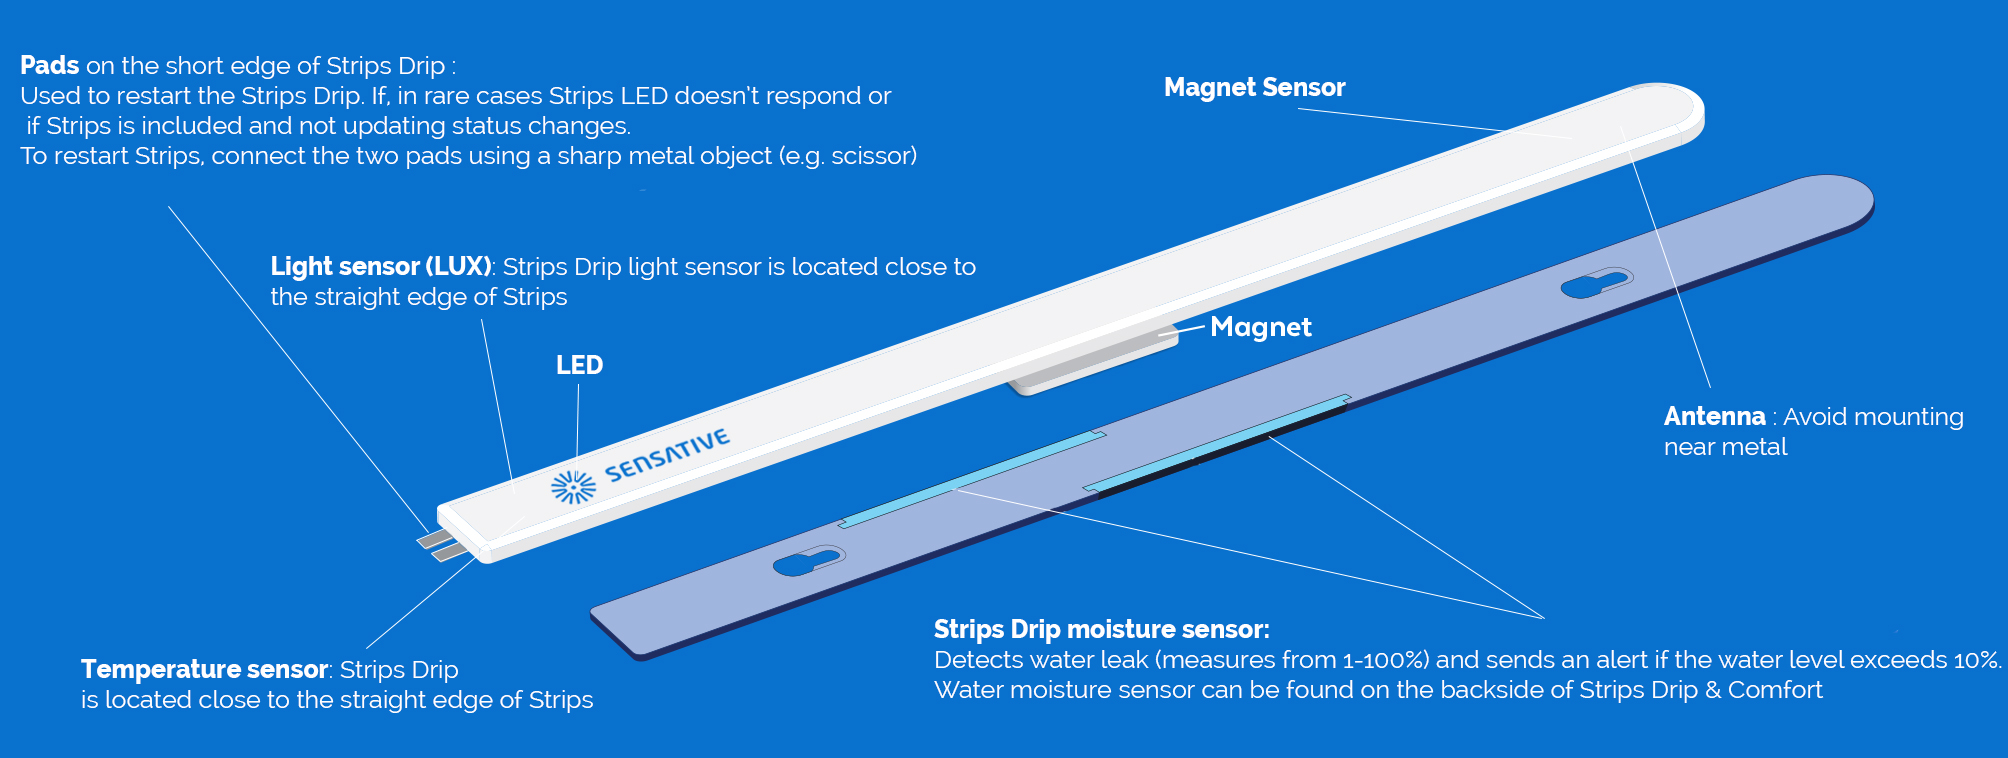
LED LIGHT SIGNALS
| Reset to factory default | Bewegen Sie den Magneten an die abgerundete Kante, und sobald die LED blinkt, bewegen Sie den Magneten weg, und lassen Sie ihn bei der dritten Wiederholung 10 Sekunden lang wie in der Abbildung unten (20 mm von der abgerundeten Kante entfernt) stehen. |
| Inclusion | 1. Start the add mode on the Z-Wave controller. See the controllers manual. 2. Remove both magnets from Strips. Strips blinks twice to confirm the command and successful addition. 3. A long LED blink indicates that the add process was successful 4. The Z-Wave controller application should now allow you to monitor your Strips sensor status. |
| Exclusion | 1. Platzieren Sie den Magneten an der abgerundeten Kante der Streifen. Wenn die LED blinkt, bewegen Sie den Magneten weg. Insgesamt 3 Mal innerhalb von 10 Sekunden wiederholen.
2. Ein langes Blinken der LED zeigt an, dass der Löschvorgang erfolgreich war. |
| NIF | XXXNIF |
| Wakeup | Wake up Strips manually for Z-Wave communication:1. Place the round magnet at the rounded edge of Strips. 2. When the LED blinks, move the magnet away. 3. Repeat 3 times in total within 10 seconds. |
| Protection | XXXProtection |
| FirmwareUpdate | XXXFirmwareUpdate |
| SetAssociation | XXXSetAssociation |
Association Groups:
| Group Number | Maximum Nodes | Description |
|---|---|---|
| 1 | 1 | Z-Wave Plus Lifeline |
Configuration Parameters
Parameter 2: LED alarm event reporting
Size: 1 Byte, Default Value: 1
| Setting | Description |
|---|---|
| 0 | Off |
| 1 | On |
Parameter 3: Temperature & Light reporting frequency
Size: 1 Byte, Default Value: 1
| Setting | Description |
|---|---|
| 1 | Normal |
| 2 | Frequent |
Parameter 4: Temperature reporting
(Does not affect temperature alarms) Size: 1 Byte, Default Value: 1
| Setting | Description |
|---|---|
| 0 | Off |
| 1 | On |
Parameter 5: Temperature reporting unit
Size: 1 Byte, Default Value: 0
| Setting | Description |
|---|---|
| 0 | Celsius |
| 1 | Fahrenheit |
Parameter 6: Temperature alarms
Size: 1 Byte, Default Value: 0
| Setting | Description |
|---|---|
| 0 | Off |
| 1 | On |
Parameter 7: High temperature alarm level
Size: 1 Byte, Default Value: 60
| Setting | Description |
|---|---|
| 0 - 60 | Value in °C (0 - 60°C) |
| 236 - 255 | Value in °C (-20 - -1) |
Parameter 8: Low temperature alarm level
Size: 1 Byte, Default Value: 236
| Setting | Description |
|---|---|
| 0 - 60 | Value in °C (0 - 60°C) |
| 236 - 255 | Value in °C (-20 - -1) |
Parameter 9: Ambient light reporting
Size: 1 Byte, Default Value: 1
| Setting | Description |
|---|---|
| 0 | Off |
| 1 | On |
| 2 | Report only when levels defined in parameter 10 & 11 are passed. |
Parameter 10: High ambient light report level
Size: 4 Byte, Default Value: 40000
| Setting | Description |
|---|---|
| 3 - 64 000 | Value in LUX |
Parameter 11: Low ambient light report level
(Must be significantly lower than parameter 10) Size: 4 Byte, Default Value: 5000
| Setting | Description |
|---|---|
| 1 - 42000 | Value in LUX |
Parameter 12: Leakage alarm
Size: 1 Byte, Default Value: 1
| Setting | Description |
|---|---|
| 0 | Off |
| 1 | On |
Parameter 13: Leakage alarm level
Size: 1 Byte, Default Value: 10
| Setting | Description |
|---|---|
| 1 - 100 | Leakage alarm level 1 = almost dry, 100 = wet |
Parameter 14: Moisture reporting period
Size: 1 Byte, Default Value: 0
| Setting | Description |
|---|---|
| 0 | Off |
| 1 - 120 | Hours between reports |
Technical Data
| Dimensions | 15 x 195 x 3 mm |
| Weight | 10 gr |
| Hardware Platform | ZM5101 |
| EAN | 7350088520093 |
| IP Class | IP 65 |
| Battery Type | 1 * 3,0 V LiMnO2 |
| Device Type | Notification Sensor |
| Network Operation | Reporting Sleeping Slave |
| Z-Wave Version | 6.51.06 |
| Certification ID | ZC10-16045049 |
| Z-Wave Product Id | 0x019A.0x0003.0x0003 |
| Frequency | Europe - 868,4 Mhz |
| Maximum transmission power | 5 mW |